Needle gauge selection for viscous formulations requires balancing flow resistance against needle wall thickness. Thicker liquids demand larger bore needles to reduce injection resistance and prevent device damage. This guide outlines the steps to match gauge size to specific viscosity levels.
- Larger bore needles reduce injection resistance for thick liquids by increasing flow area.
- Needle wall thickness creates friction; longer needles increase resistance further.
- Match gauge size to the specific viscosity of the formulation, not just the volume.
- Verify flow rates with actual product samples before finalizing procurement.
- Consider needle tip design, as bevels and shafts affect how viscous fluids move.
Why Viscosity Changes the Gauge Equation
Standard needle sizing assumes water-like fluids. When the liquid is thicker, the physics change. A 25-gauge needle that moves saline easily may struggle with a 20-centiPoise emulsion. The friction against the needle wall creates back pressure. That pressure forces the operator to push harder on the plunger. It also risks deforming the needle or breaking the luer lock.
The goal is to find the smallest gauge that moves the fluid at a comfortable rate. Smaller gauges hurt less for patients. They also allow for more precise dosing. But if the gauge is too small, the injection resistance becomes too high. The device may jam. The fluid may leak at the seal. The operator loses control over the dose.
This is where needle gauge selection becomes a fluid dynamics problem, not just a size choice. You must look at the liquid, the needle, and the delivery method together.
Prerequisites Before Choosing a Gauge
You need three things before you start testing. First, the viscosity of the formulation. Ask the manufacturer for the centiPoise value at body temperature. Viscosity changes with heat and cold. A liquid that is thick in the cold may flow fine at room temperature.
Second, the volume per shot. A small dose of thick liquid needs a different approach than a large dose. High viscosity plus high volume creates significant resistance.
Third, the delivery mechanism. Is it a hand-held syringe? A pump-driven device? A pump can push through resistance that a human hand cannot. This changes the gauge you can use. A pump may tolerate a smaller, thinner needle because it provides the force.
Step 1: Measure the Fluid Viscosity
Start by confirming the viscosity of the specific batch. Do not guess based on the product label. Viscosity can vary between batches due to temperature or mixing. Use a viscometer if you have one. If not, use a standardized flow test.
This step matters because a 10-centiPoise liquid behaves very differently from a 50-centiPoise liquid. The difference is not linear. It is exponential. A small jump in viscosity can double the resistance. You need the exact number to model the flow.
Step 2: Determine the Required Flow Rate
How fast must the liquid leave the needle? For manual injection, the operator’s strength sets the limit. A typical hand-held syringe can handle a certain level of resistance before the plunger becomes hard to push. For powered devices, the pump’s maximum pressure defines the limit.
Identify your target rate. Is it 1 mL per second? 0.5 mL per second? Write this down. This number, combined with viscosity, tells you the maximum resistance you can accept. If the resistance exceeds this, the injection fails.
Step 3: Calculate the Pressure Drop
Use the Hagen-Poiseuille equation to estimate the pressure drop. This equation relates flow rate to viscosity, needle length, and radius. The radius is the most critical variable.
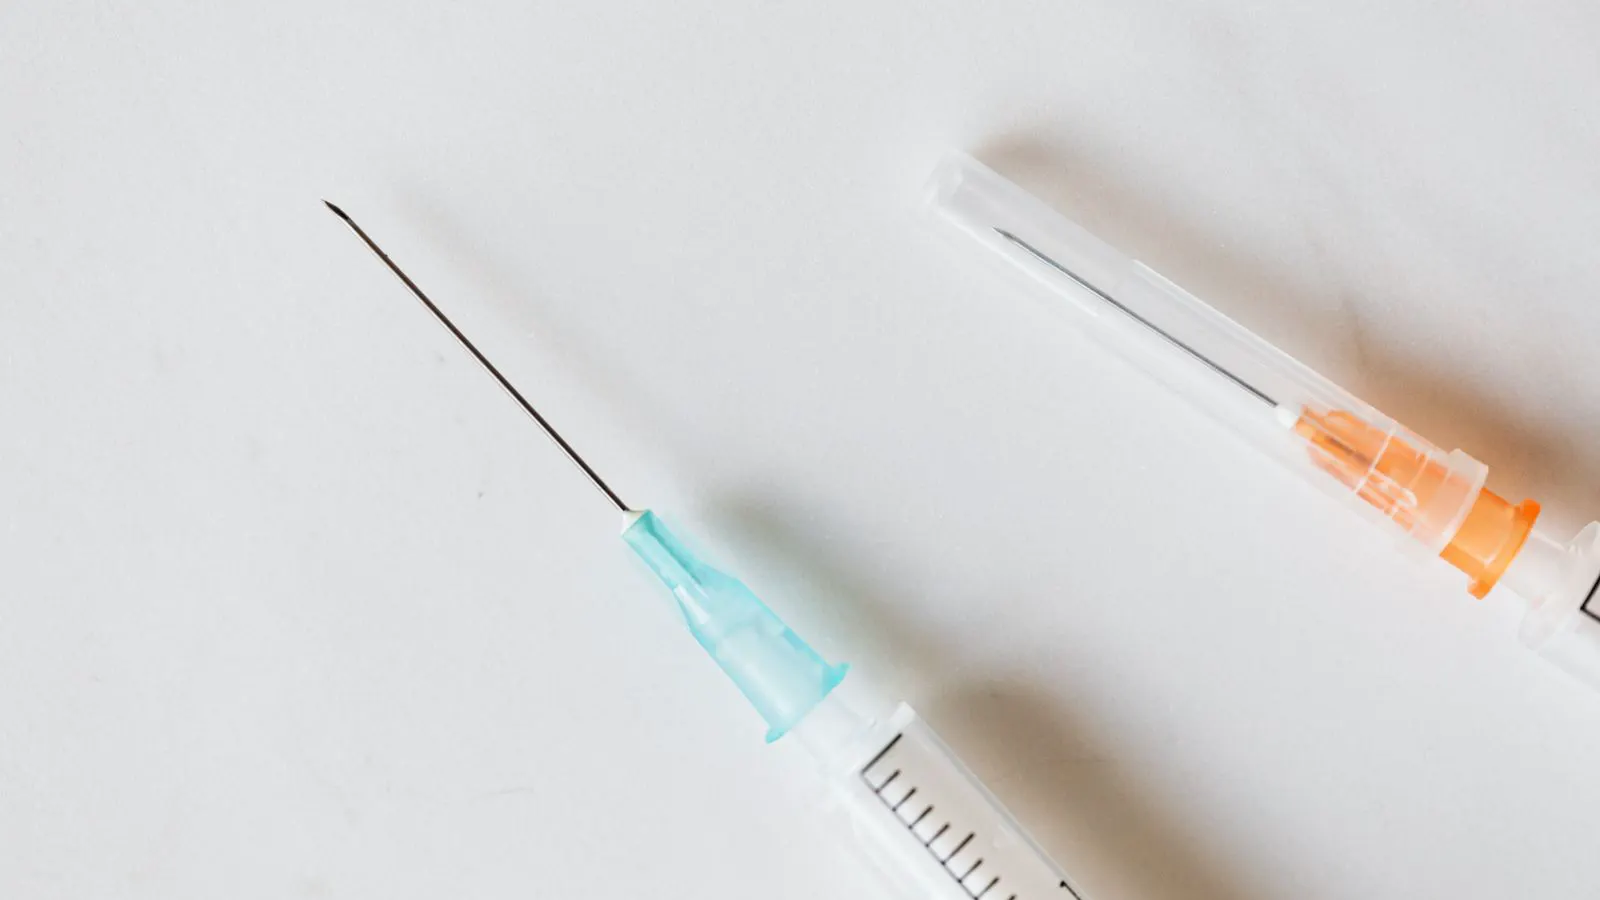
A 28-gauge needle has a smaller internal diameter than a 22-gauge needle. The difference in area is significant. Because the area is in the denominator of the flow equation, halving the diameter increases the resistance by a factor of sixteen. This is why gauge selection is so sensitive. A two-gauge change can make or break the delivery.
Step 4: Select the Initial Gauge Candidate
Start with a gauge that is one or two sizes larger than the standard size for that volume. If the standard is 25 gauge, try 23 gauge. This gives you a safety margin. Do not start with the smallest possible gauge. You want to see if the fluid moves easily before you try to make the needle finer.
Write the candidate gauge on your test sheet. Record the needle length. Length matters. A 2-inch needle has more resistance than a 1-inch needle of the same gauge. Thicker walls on longer needles also add friction.
Step 5: Perform a Static Pressure Test
Fill the syringe with the actual formulation. Do not use water. Water will flow too easily and give you false confidence. Attach the candidate needle.
Pull the plunger back slowly. Measure the force required to hold the plunger at a set position. Or, if you have a pressure gauge adapter, measure the pressure at the hub. This static test tells you the baseline resistance. If the force is too high to hold, the gauge is too small.
Step 6: Conduct a Dynamic Flow Test
Now move the fluid. Push the plunger at a constant rate. Time how long it takes to deliver a set volume, such as 1 mL. Compare this to your target flow rate.
Watch for leaks. Thick fluids can leak from the luer connection if the seal is not tight. Viscous liquids do not “break” the seal like water does, but they can creep out slowly. This loss of volume affects accuracy. Check the piston seal and the luer lock for signs of stress.
Step 7: Adjust Based on Resistance
If the flow is too slow, increase the gauge size. Move from 23 to 22. If the flow is too fast or the resistance is negligible, you might try a smaller gauge, but only if the resistance is still within your comfort zone.
Remember, you are balancing two things. You want low resistance for easy delivery. You also want a small gauge for patient comfort and precision. Find the intersection point. That is your selected gauge.
Common Mistakes in Gauge Selection
Operators often make the same errors. Here is what to watch for.
Using the wrong viscosity value. Testing at room temperature when the product is used at body temperature leads to errors. Always test at the correct application temperature.
Ignoring needle length. A 25-gauge, 3-inch needle has much higher resistance than a 25-gauge, 1-inch needle. If you switch suppliers and get a longer needle, your previous gauge will no longer work.
Forgetting about the tip. Some needles have a sharp bevel. Others have a blunt tip. A blunt tip increases resistance for viscous fluids. Check the tip geometry.
Not testing the full system. The needle is not the only part. The syringe barrel, the plunger, and the luer lock all add resistance. Test the whole assembly.
Verification Step
Before you roll out the new gauge, run a final verification. Take three syringes with the selected needle. Fill them with the formulation. Deliver the dose into a graduated cylinder. Measure the volume delivered.
Check for consistency. If the first dose is 1.0 mL and the third is 1.1 mL, you have a problem. The viscosity may be changing. The seal may be leaking. The needle may be kinking.
Record the data. Keep a log of the gauge, the viscosity, the flow rate, and the volume accuracy. This log protects you if a new batch of liquid changes the viscosity. You can quickly reference the old data and adjust.
Final Checks Before Procurement
Once you have the gauge, check the supply chain. Ensure the supplier stocks that specific gauge and length. Do not assume they have it. Confirm the material. Stainless steel is standard, but some formulations react with certain alloys. Check the packaging. Viscous fluids can stick to the tip if the needle is not sealed properly.
Store the syringes in a cool, dry place. Heat can soften the rubber seals. Cold can make the liquid thicker. Keep the environment stable.
Reference Table: Gauge and Resistance
| Gauge | Relative Bore | Typical Use | Resistance for High Viscosity |
|---|---|---|---|
| 28 | Small | Insulin, small doses | Very High |
| 27 | Small | Subcutaneous, thin fluids | High |
| 25 | Standard | General IM, moderate visc | Moderate |
| 23 | Large | Thick formulations, pumps | Low |
| 21 | Large | Very thick pastes, high vol | Very Low |
Note: “Resistance” here is relative. A 25-gauge needle has higher resistance than a 23-gauge needle for the same length and fluid. The exact number depends on the specific viscosity.
Frequently asked questions
Can I use a smaller gauge if I use a powered pump?
Yes. Pumps can overcome higher resistance. You may use a 25-gauge needle with a pump that would jam with a 28-gauge needle. Test the specific pump's maximum pressure.
How does needle length affect viscous flow?
Longer needles increase the path length for the fluid. This increases friction and pressure drop. A 3-inch needle has significantly more resistance than a 1-inch needle of the same gauge.
What if the viscosity changes during the shot?
This is a problem. If the fluid thickens as it moves, the resistance will rise. You may need to use a larger gauge to account for the worst-case scenario. Test the fluid at the end of the delivery path.
Is there a standard gauge for viscous formulations?
No. There is no single standard. The gauge depends on the specific viscosity, volume, and delivery method. You must test each formulation.
How do I check for leaks with thick fluids?
Wipe the luer connection with a dry cloth after the shot. Thick fluids can leak slowly. A small drop may not be visible during the push but will appear later. Check the plunger seal for signs of wear.